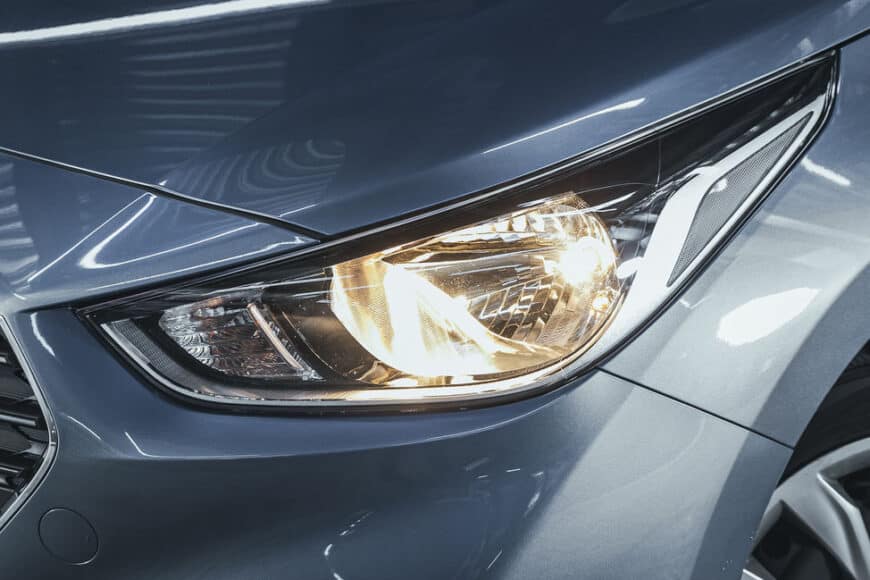
Headlights are one of the most essential safety features of your car. Not only do they allow you to see the road and what’s around you, but they also allow other drivers to see you. Without them, you are driving blind – especially at night or in severe weather conditions.
It’s essential to make sure they’re always kept clean, well-maintained, and in good working order so that you can continue to drive safely and see the way ahead. But what happens once they start to deteriorate and have trouble functioning correctly?
At Stud Road Panels, we’re passionate about restoring cars and breathing new life into your vehicle. Here are our tips on how to restore plastic headlights, how to keep them clear, and how to keep them well-lit.
How to Make Headlights Clear Again
Headlamp lenses are a combination of polycarbonate plastic protected with a UV-resistant film. Yet, this protective film wears away over time due to sun exposure. And your headlamps may become discoloured, yellow, dull, and hazed over a little.
This is due to oxidation, which happens when oxygen combines with the plastic and changes its appearance. Your lamps also operate at high temperatures – and this heat can further contribute to the process.
But the good news is that there’s an easy fix if you’re wondering how to restore your plastic headlights – and it will take you less than an hour. No matter how cloudy or discoloured they are, there’s a simple maintenance routine you can carry out yourself at home. We’re here to tell you how.
After all, regular cleaning and restoring your headlamps is much cheaper than replacing them altogether.
Headlight Reconditioning 101
When cleaning your headlight lenses, there are a few simple things you’re going to need. There’s a variety of restoration kits available on the market. Otherwise, you can usually gather a few things together at home:
You’re ready to get started once you have all of these together and a clean workspace to work in.
How to Make Your Headlights Clear
Here are some quick, easy steps to follow as a guide. It’s so simple that you can do this at home in your garage.
Note: It’s best to only work on one lamp at a time:
-
Prepare the area: First, you’ll want to give the lamp’s lens a good wash with some soapy water, along with the surrounding area. Then, either remove the light and place it in an isolated workspace – or use the painter’s tape to seal off the site, covering all the surfaces surrounding the lamp. This will protect your paintwork and the rest of your car from accidental scratches from the sandpaper, in case your hand slips.
-
Sanding: To remove the oxidised plastic from the lens, take the most abrasive piece of sandpaper (1000 grit), wet it a little, and carefully sand the outer lens horizontally. It’s crucial to keep the surface wet as you work. Otherwise, you might damage and scratch the lens – and keeping the sandpaper moist also means it won’t get all gummy with old oxidised plastic.
-
Work Your Way Up: Gradually work through the less abrasive sandpaper and switch from 2000 to 3000 grit – this time in a diagonal motion. Remember to keep cleaning and wetting the surface in between sandpaper changes. Depending on how heavily oxidised your lenses are, you may have to repeat this process to remove the layers of discolouration. See how you go.
-
Polish: Wipe off and dry the surface of the lens. Squeeze a little polish onto your microfibre cloth, then rub it onto the lamp in a circular motion using firm pressure – then buff it with a second cloth. Afterward, apply car wax to the outer layer for a smooth, beautiful finish.
-
UV Sealant: Apply your UV sealant to the light’s surface using a wet paper towel. Only use one layer, then allow it to dry and cure after you’re done. This will protect your headlamp and keep it clear. It also replaces the oxidised sealant you’ve sanded away, turning the surface cloudy and yellow.
Once the process is complete, your headlamps will be as good as new. If it hasn’t worked, repeat the process – it may be that the oxidation hasn’t been worn away.
Can You Use Coke or Toothpaste?
It’s not a crazy question, as these everyday household products are often used to clean grit off dirty surfaces. Yet, using traditional car care products, you’ll get a much better result.
Get Your Car Looking Its Best
When restoring your car, you can trust the expert team here at Stud Road Panels. We are passionate about providing professional panel beating, auto refurbishing, and smash repair services.
We only use high-quality parts and components as part of our bumper and light repairs, so you know your car will continue to look its best and go the distance for your total peace of mind.
Our experts are here to help. If you have any further questions, contact us on (03) 9792 4913, or visit us at our Balmoral Avenue body shop in Dandenong.


